运行在树莓派中的scratch3-adapter tensorflow插件
文章目录
提醒
暂未升级到 3.0 , 正在进行中…
树莓派与Scratch3.0
树莓派目前的浏览器不支持webGL,但scratch3.0需要webGL支持。这篇文章准备让scratch3-adapter运行在树莓派中,而scratch3.0运行在电脑上的chrome浏览器里。
scratch team正在和树莓派社区合作,推出scratch3.0的树莓派版本。所以在未来,你也可以使用树莓派中使用scratch3.0。
当我们允许scratch3.0和scratch3-adapter运行在不同机器上时,我们得到了一些有趣的副产品,诸如支持移动端(ipad/mobile)、分布式运行、远程教育等等。
在树莓派中运行scratch3-adapter
下载scratch3-adapter。建议你重新下载插件,我刚才有更新,修复了一个字节码相关的bug。
下载好之后,给予它运行权限: chmod +x xxx
之后双击运行即可.
建立连接
首先访问: https://raspberrypi.local:12358/
点击高级 > 继续前往raspberrypi.local(不安全)
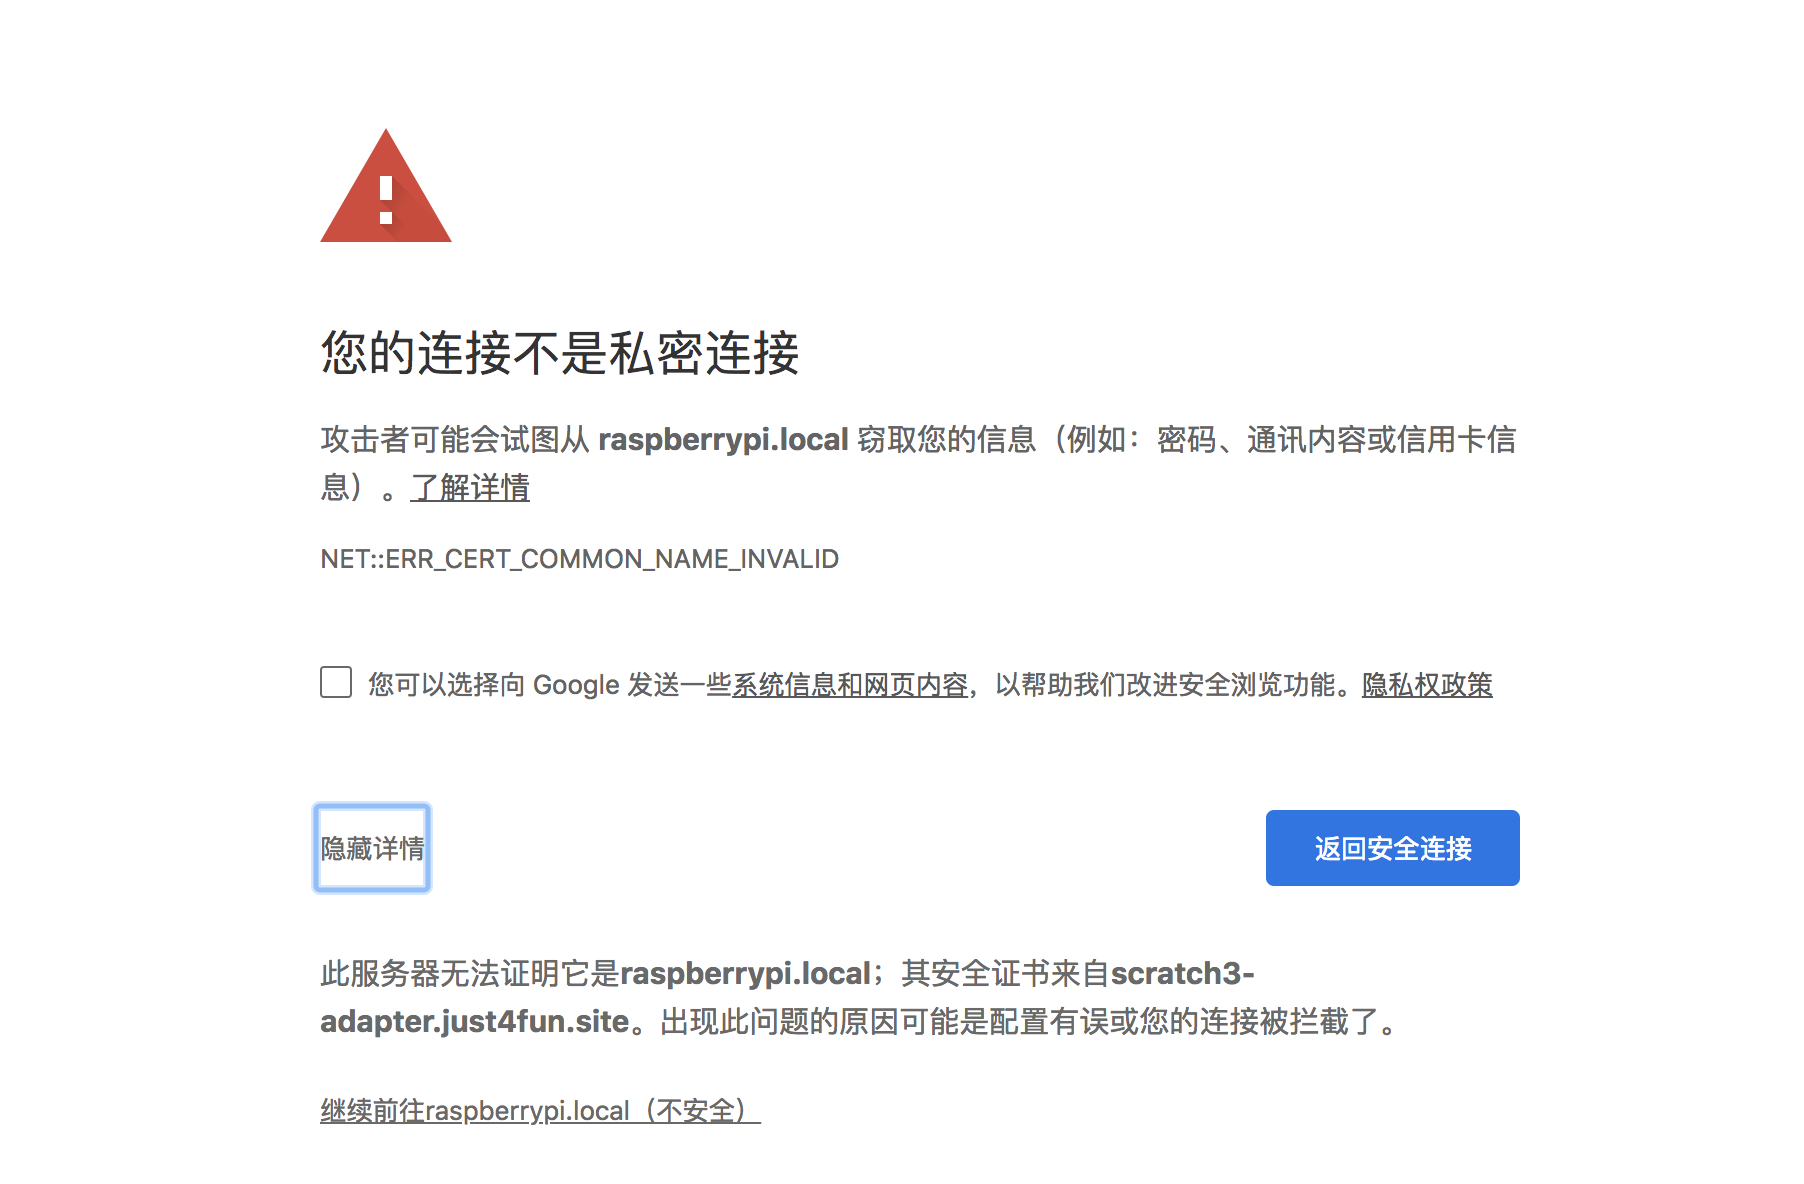
当你看到hello world就ok了。
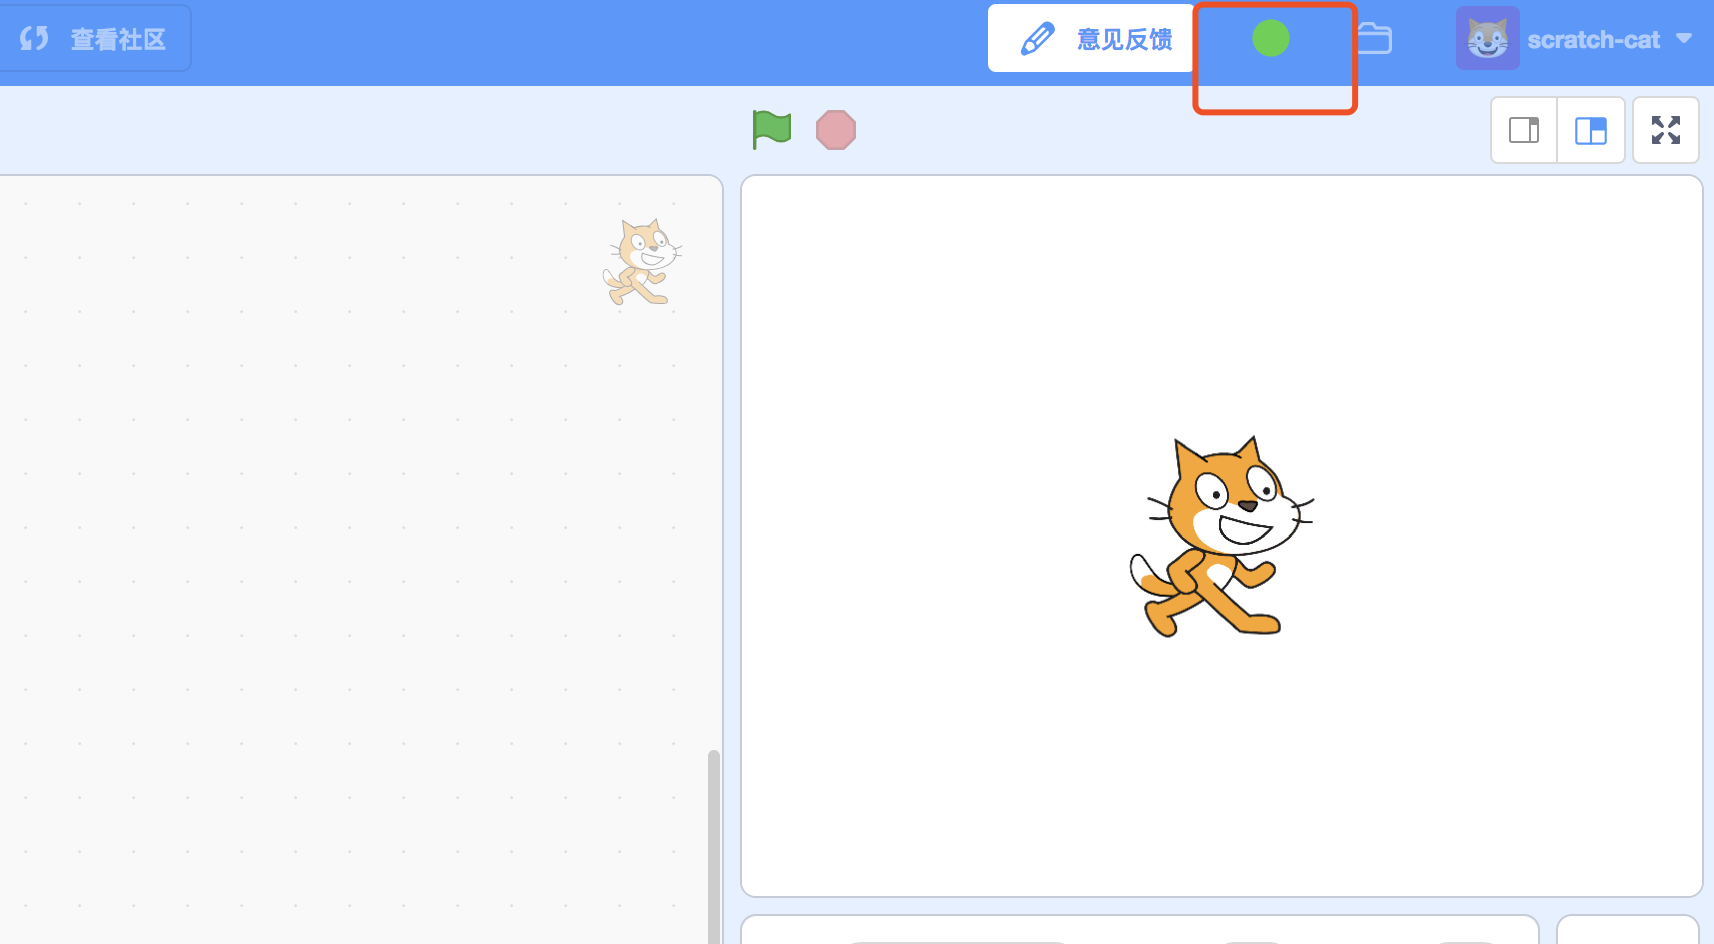
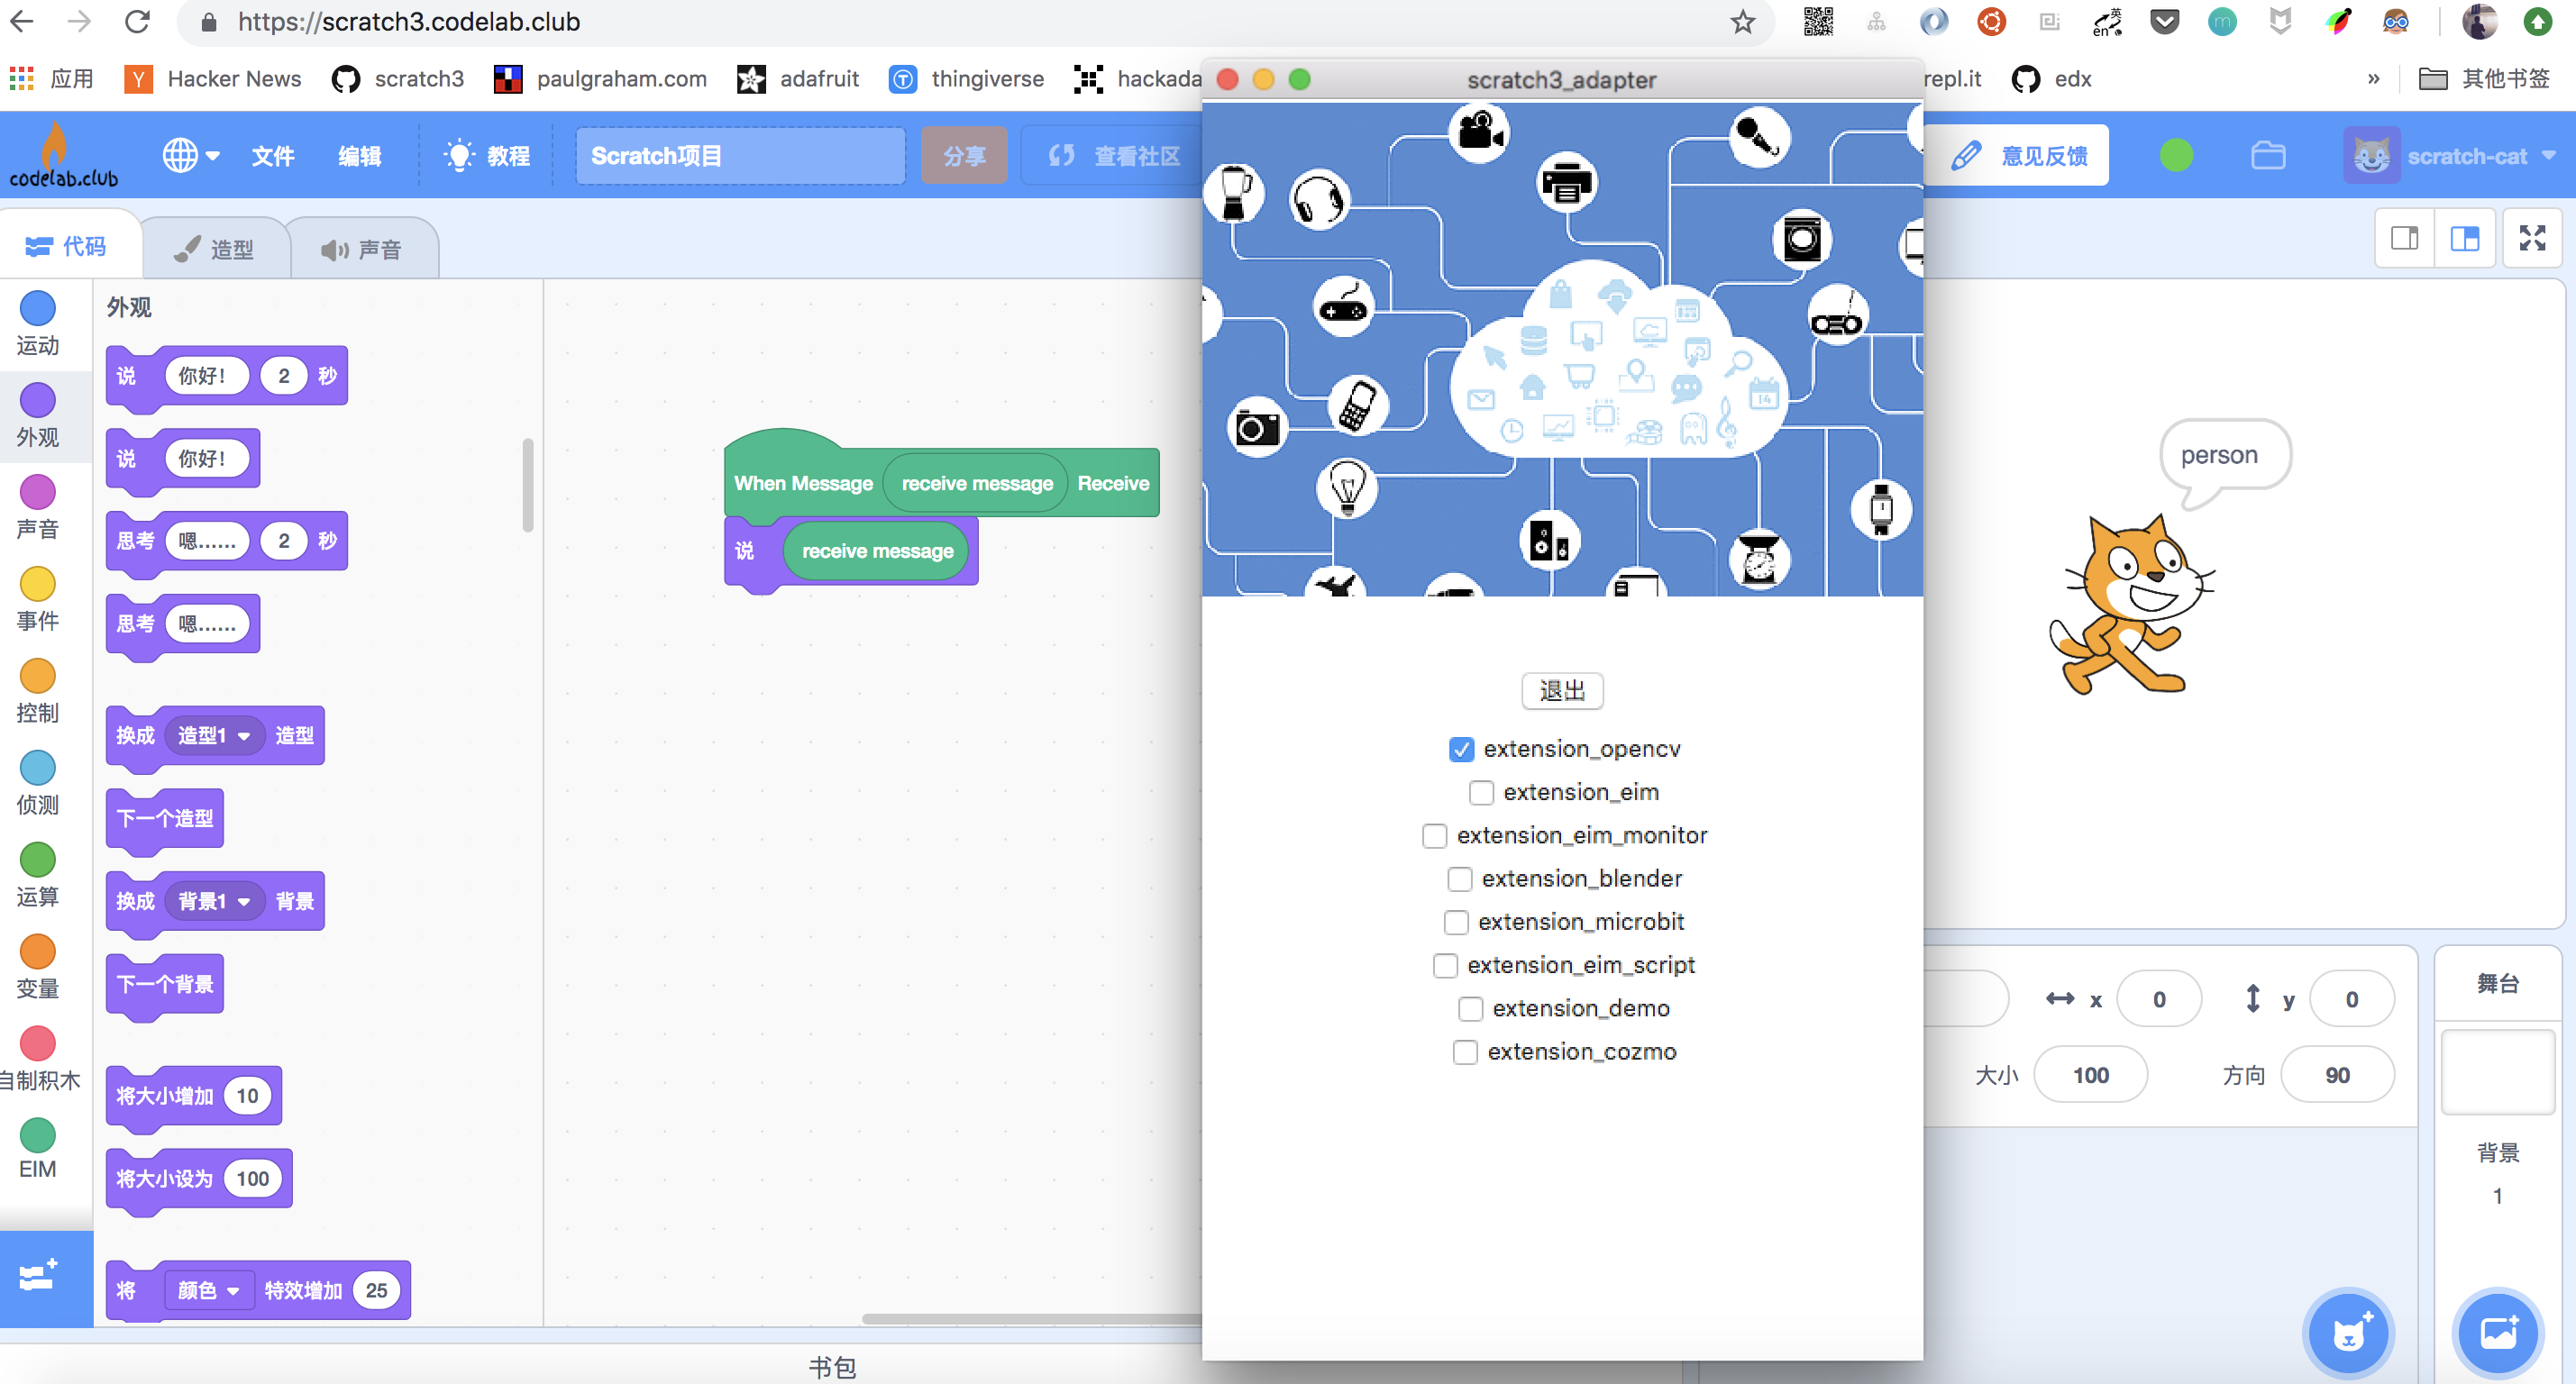
打开scratch3v3.codelab.club, 指定adapter_host参数: https://scratch3v3.codelab.club/?adapter_host=raspberrypi.local
你将看到,本地的网页已经与树莓派上的scratch3-adapter建立了连接. 之后你就可以在树莓派中构建scratch3-adapter的插件,同时在PC上的scratch3.0中操控它.和本地插件没有区别。
如果你在windows下打开scratch3.0,将raspberrypi.local替代为你的树莓派的IP。
对于mac/linux用户,如果你没有修改树莓的hostname,可以直接使用raspberrypi.local,作为adapter_host.
如果windows用户也不想每次去找树莓派的IP,需要安装Bonjour Print Services (Windows),之后raspberrypi.local就会直接指向树莓派。这部分涉及到mDNS
在树莓派安装依赖(tensorflow及其他)
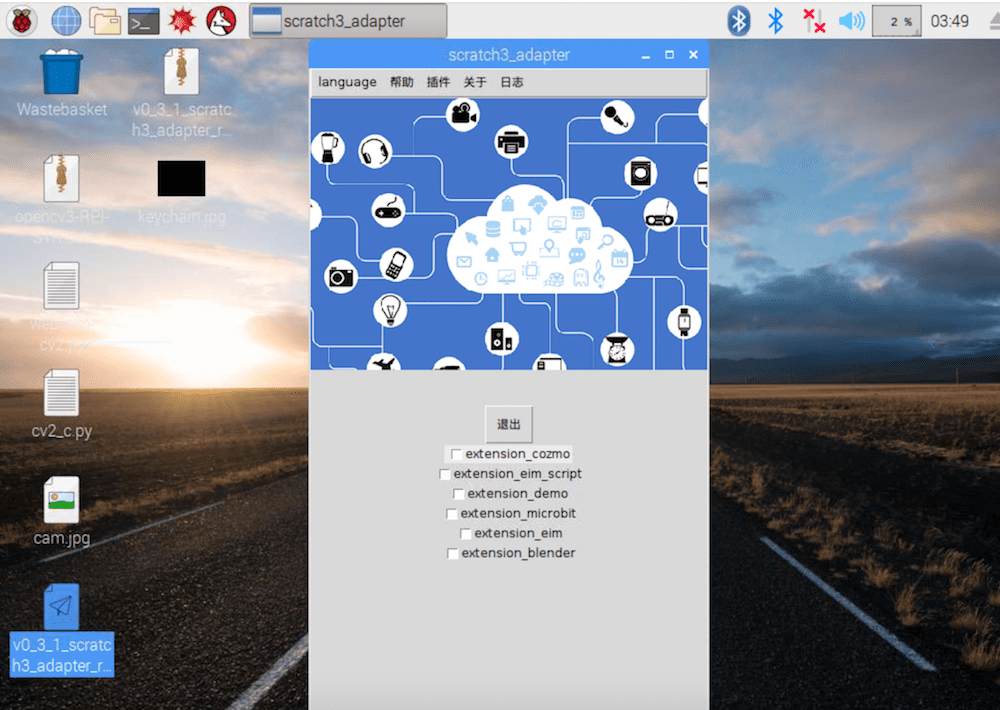
scratch3-adatper默认启动为图形界面模式,所以你需要在图形界面中操作。我们之后会推出cli版本。
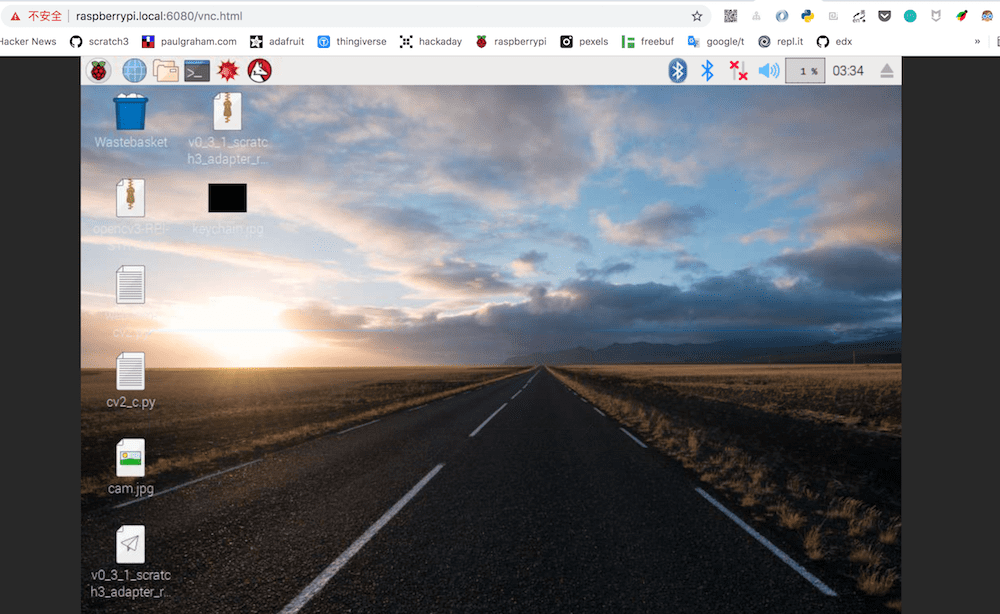
如果你希望一切都在浏览器中操作,可以使用noVNC,在浏览器中操作树莓派的桌面。
安装 tensorflow
tensorflow只是一个普通的Python库,scratch3-adatper允许使用Python构建插件,来拓展scrtach3.0的能力。所以这部分没有任何特殊性。构建AI插件和构建普通插件没有区别。你可以参考目前已有的插件例子:scratch3_adapter_extensions
在树莓派中安装tensorflow已经变得非常简单,tensorflow 1.9之后官方正式支持树莓派, 安装只需运行两行命令:
|
|
使用python3运行以下代码,看是否安装成功:
|
|
安装opencv
|
|
安装 Protobuf
如果你想使用tensorflow/models,你就需要安装protobuf-compiler。
sudo apt-get install protobuf-compiler
其他
|
|
运行物体识别程序
从Set up TensorFlow Directory Structure and PYTHONPATH Variable往下做相应配置。
配置好之后你应该就能在树莓派上运行Object_detection_usb_cam.py 而不报错。
程序目前使用usb摄像头,如果你想使用树莓派官方的摄像头,需要做些调整。
以上这些步骤与scratch3-adapter无关,是在树莓派中用tensorflow运行物体识别程序需要的步骤,挺繁琐的。
ps: 我们之后写一篇文章讲解在opencv中跑神经网络,而不用tensorflow,将省去很多繁琐步骤。
完成之后,我们就可以开始在scratch3-adapter中写插件了。
构建scratch3-adapter插件
首先把tensorflow物体识别程序放到用户目录下:
|
|
在~/scratch3_adapter/extensions/构建extension_tensorflow.py:
|
|
搞定。
之后双击启动extension_tensorflow插件就行。
注意: tensorflow的model在在树莓派中加载很慢,所以从运行插件,到你看到摄像头被激活,可能有几秒钟时间。
tips
每次退出scratch3-adapter,记得取消勾选extension_tensorflow,不关闭这个进程,树莓派的很多计算资源仍然会被它占用。
如果你不慎直接退出了scratch3-adapter,可以通过ps aux |grep adapter查杀Object_detection_for_adapter.py
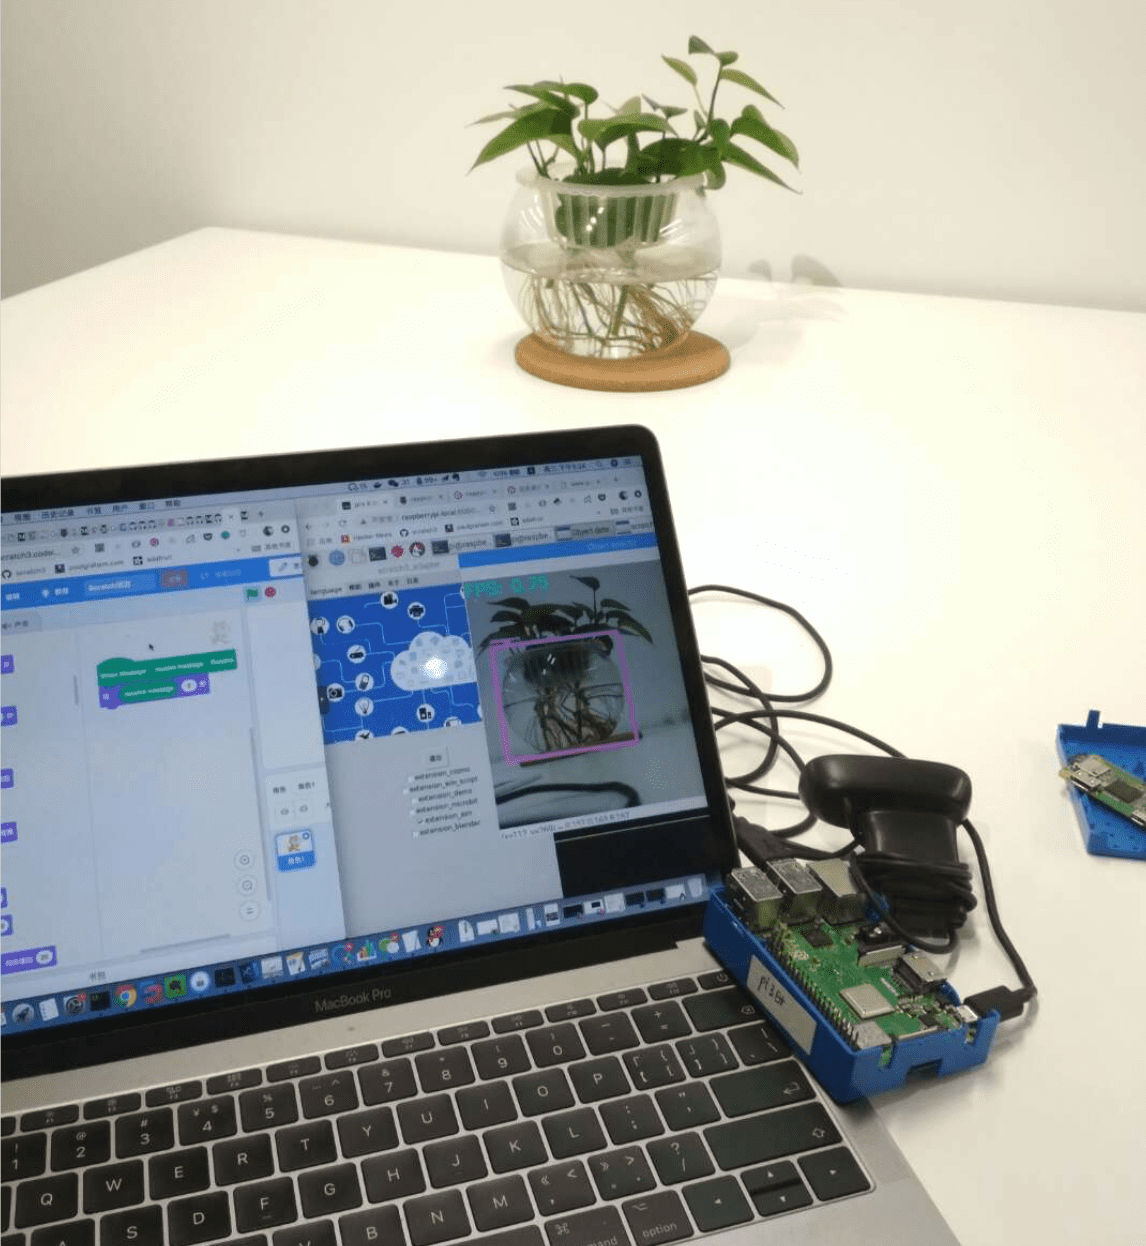
展示

提醒
[scratch3-adapter tensorflow插件](http(s://blog.just4fun.site/adapter-tensorflow.html)除了用于树莓派中,也完全可用在电脑上。需要对资源(model)路径做些调整(使用绝对路径)。
运行在笔记本上,处理速度要快很多。
todo
在未来,我们会直接发布内置scratch3-adapter的树莓派镜像,支持tensorflow/opencv/dlib/gpio。开箱即用,只需要将树莓派接入局域网(将内置wifi-connect来简化wifi连接),你就可以立刻用scratch3.0来为它编程。
参考
文章作者 种瓜
上次更新 2018-12-27